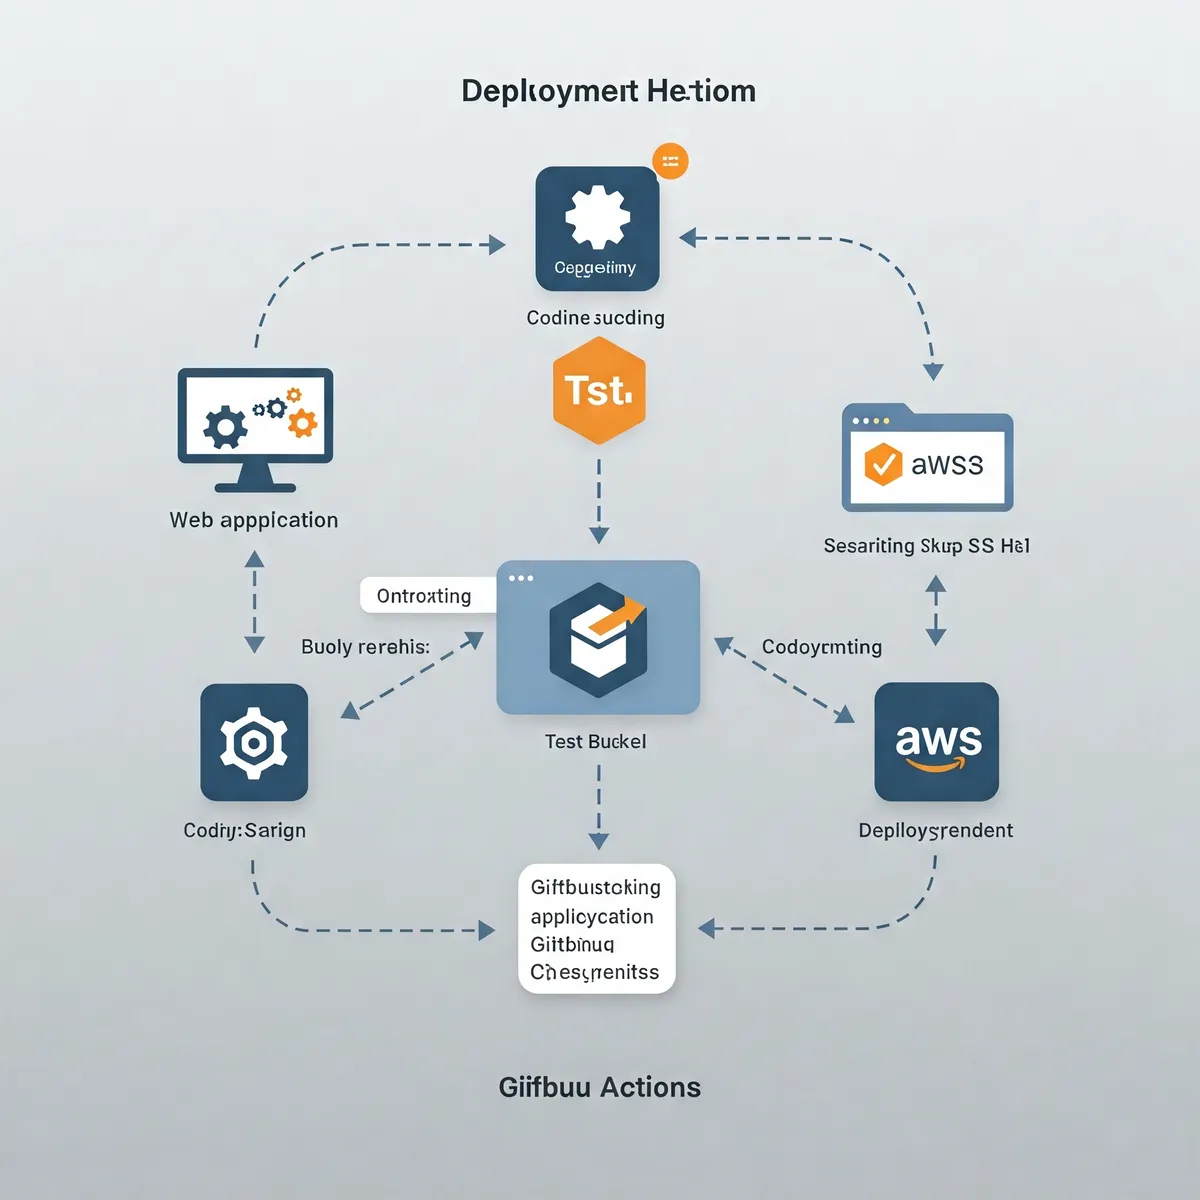
Deploying to AWS S3 with GitHub Actions
Introduction paragraph goes here. This guide will walk you through the process of setting up a GitHub Actions workflow to automatically deploy your website or static content to an AWS S3 bucket whenever you push changes to your repository.
What You Need to Get Started
Before starting the configuration, make sure you have the following:
- An AWS account with access to manage S3 buckets.
- An existing S3 bucket that will be the synchronization target.
- AWS access keys (
AWS_ACCESS_KEY_IDandAWS_SECRET_ACCESS_KEY). - A GitHub repository with GitHub Actions enabled.
Step 1: Preparing the S3 Bucket
First, you need to create and configure your S3 bucket appropriately:
- Log in to the AWS Management Console.
- Navigate to the S3 service and create a new bucket (e.g.,
my-website). - Configure the bucket settings:
- If you are publishing a static website, remember to enable public access.
- Ensure that the bucket policy does not block public read access if required.
Step 2: Configuring AWS Credentials
For GitHub Actions to communicate with AWS, you need to provide the necessary credentials:
- In the AWS Management Console, go to IAM (Identity and Access Management).
- Create a new user or use an existing one with appropriate S3 permissions.
- Generate access keys (
AWS_ACCESS_KEY_IDandAWS_SECRET_ACCESS_KEY). - In your GitHub repository, go to Settings > Secrets and variables > Actions.
- Add the following secrets:
AWS_ACCESS_KEY_IDAWS_SECRET_ACCESS_KEYAWS_S3_BUCKET(your bucket name)- Optionally:
AWS_REGION(e.g.,us-east-1)
Note: Always store your credentials as encrypted secrets and never directly in your code!
Step 3: Creating the GitHub Actions Workflow
Now, we need to create the workflow configuration file:
- In your repository, create a directory
.github/workflows(if it doesn't exist). - Create a file named
s3-sync.ymlinside it.
Step 4: Workflow Configuration
Below is an example configuration file that synchronizes the content of a public directory to your S3 bucket:
name: Upload Website

# Workflow triggered on push to the master branch
on:
  push:
    branches:
      - master

jobs:
  deploy:
    runs-on: ubuntu-latest
    steps:
      # Step 1: Checkout the repository
      - name: Checkout repository
        uses: actions/checkout@v3

      # Step 2: Sync to S3
      - name: Sync to S3
        uses: jakejarvis/s3-sync-action@v0.5.1
        with:
          # Additional flags for the aws s3 sync command
          args: --acl public-read --follow-symlinks --delete --exclude '.git/*'
        env:
          AWS_S3_BUCKET: ${{ secrets.AWS_S3_BUCKET }}
          AWS_ACCESS_KEY_ID: ${{ secrets.AWS_ACCESS_KEY_ID }}
          AWS_SECRET_ACCESS_KEY: ${{ secrets.AWS_SECRET_ACCESS_KEY }}
          AWS_REGION: 'eu-west-1' # Optional; defaults to "us-east-1"
          SOURCE_DIR: 'public' # Optional; defaults to the entire repo
Let's clarify the flags used:
- -acl public-read: Sets public read access for uploaded files.
- -follow-symlinks: Ensures symbolic links are processed correctly.
- -delete: Removes files from the bucket that no longer exist in the repository.
- -exclude '.git/*': Excludes the .git directory from synchronization.
Step 5: Testing the Workflow
After configuration:
- Commit the s3-sync.yml file to your repository (commit & push).
- Once the changes are pushed to the master branch, the workflow will run automatically.
- Check the execution result in the Actions tab of your repository.
Tips and Additional Options
- Customizing Synchronization: You can pass any flags supported by the aws s3 sync command via the args parameter.
- Different Environments: Configure separate workflows for different branches (e.g., development, staging, production).
- Troubleshooting: In case of errors, analyze the logs in the Actions tab.
Summary
With GitHub Actions, you can easily automate the deployment of your repository content to AWS S3. Once correctly configured, every change pushed to the specified branch will automatically update the content of your S3 bucket.
The action used is available on the GitHub Marketplace: S3 Sync Action.